Your first prior authorization
Upload clinical records, check the completed form, and let Davner handle the submission.
To start your first prior authorization, you’ll need a Davner account and the clinical documentation for the request. If your practice already uses Davner, ask your administrator for an invitation. If you’re the first person at your practice, set up your organization first.
Upload the records
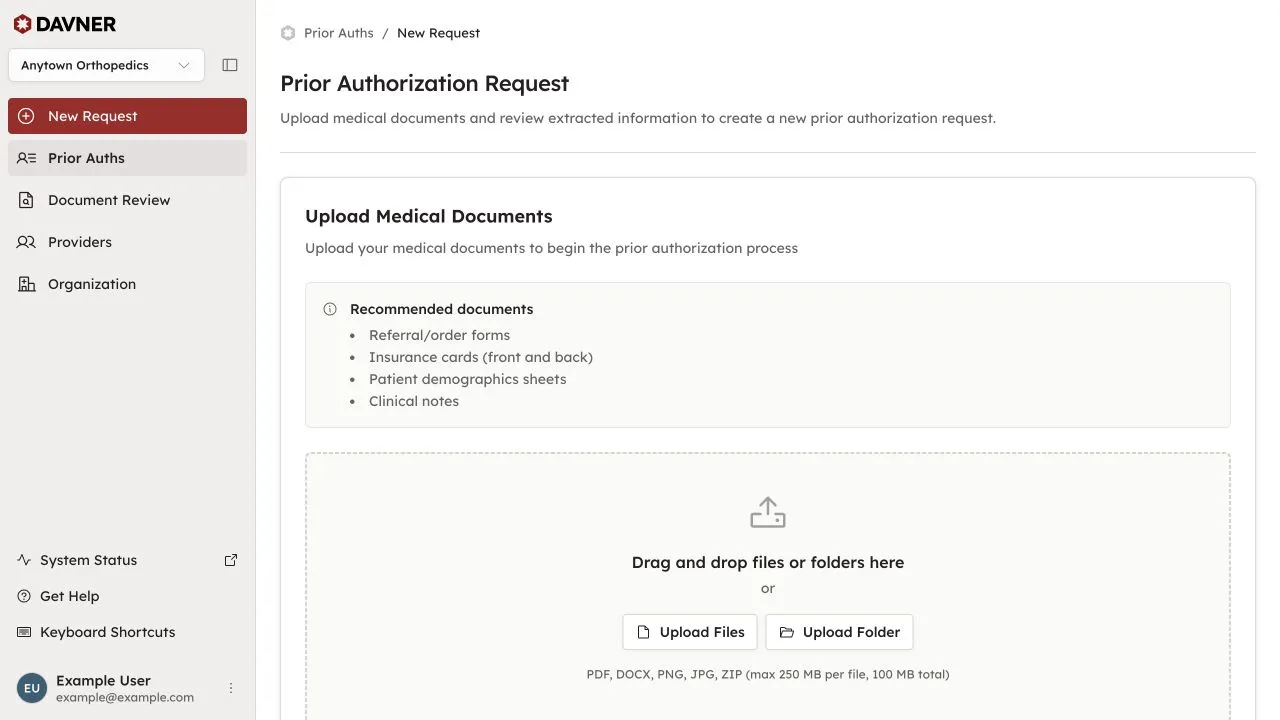
Sign in to Davner and select New Request. Add the files for the request, including:
- The referral or order.
- The patient’s insurance card, front and back.
- Patient demographics.
- Clinical notes supporting the requested procedure.
You can add several files at once: PDFs, Word documents (.docx), and PNG or JPEG images, including screenshots. Use Notes or special instructions for anything else we should know.
Select Upload Documents. Davner reads the records and fills out the prior authorization form for you.
Check the details
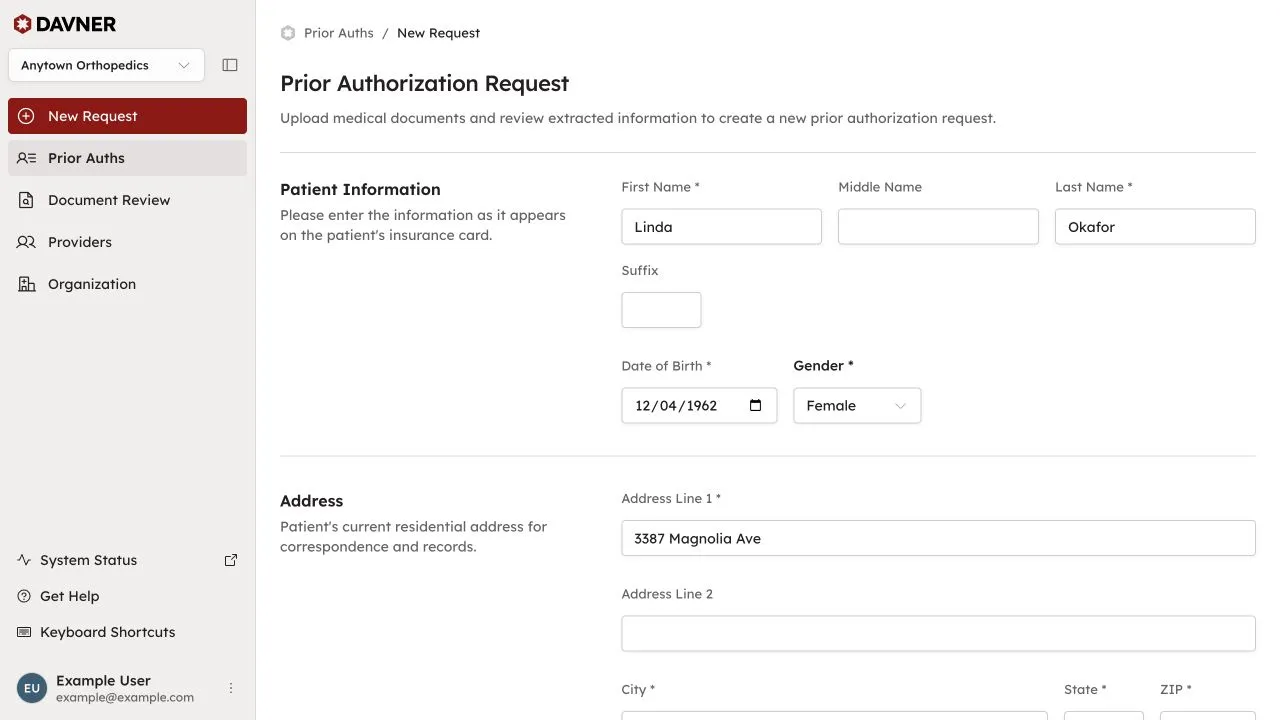
Review the form Davner prepared. Check the patient, insurance, providers, and procedure details against the records, and make any corrections. If the procedure is scheduled, include the date of service.
Confirm the request
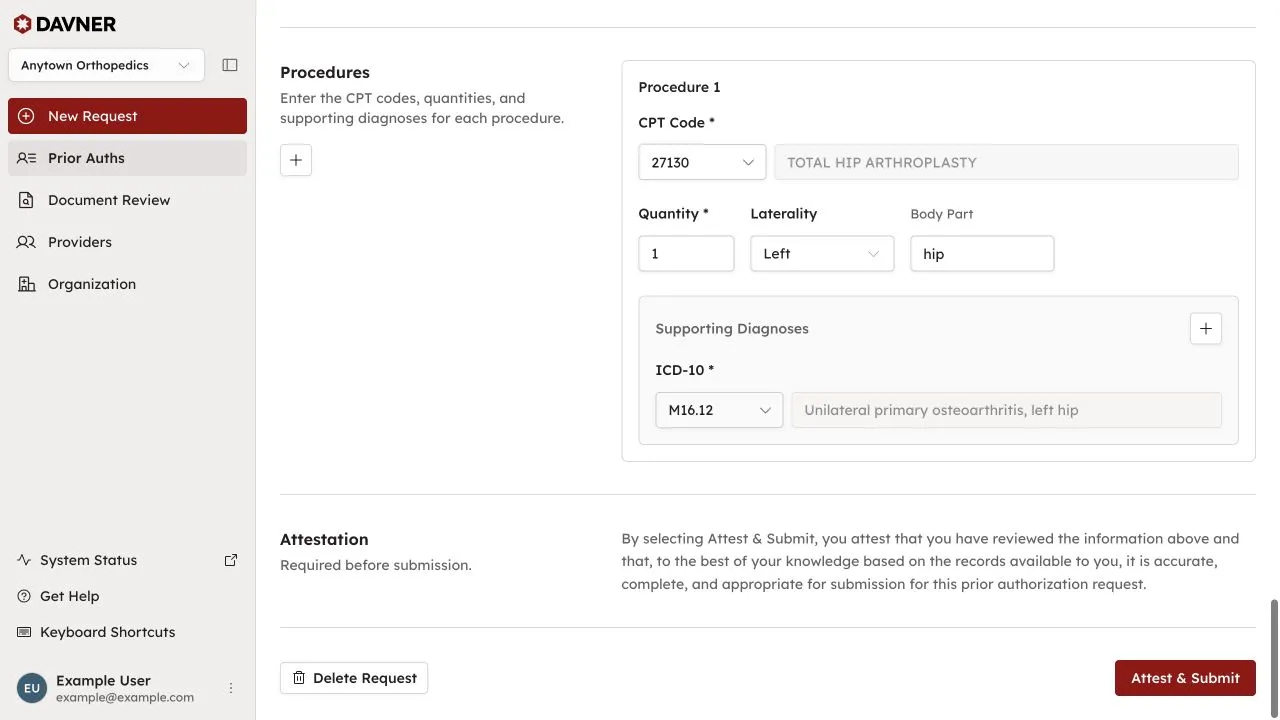
Once you’ve checked the details, select Attest & Submit to confirm that the information is accurate and complete.
We’ll take care of submitting the request to the payer and following up.
What happens next
We’ll send you email updates as the request progresses and let you know if we need anything from you. You can open the request at any time to see what’s happening, read call transcripts, or ask a question.